When my son was in Rome for the first time many years ago and again this yearthere were these all about town... a FAUX ROMAN!
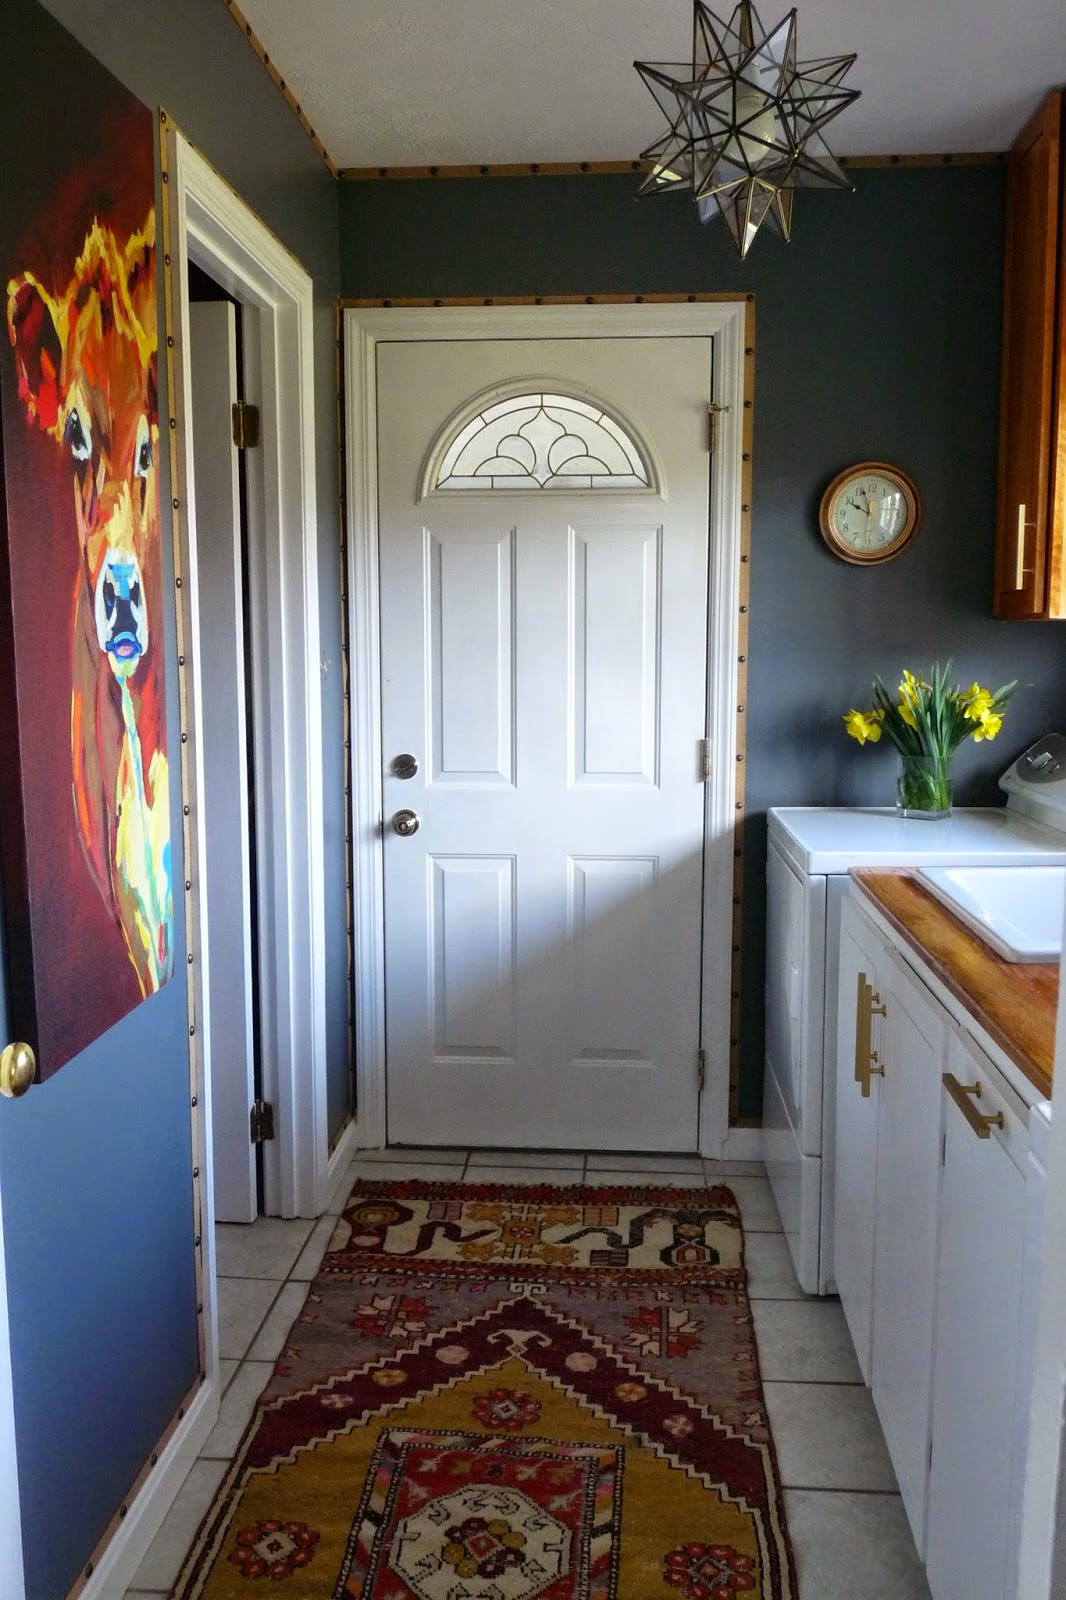
Here is my version for my latest laundry room
One Room Challenge:
Knowing it was not an operable shade but just a valance I used one yard of "
Cub Fossil" fabric
and purchased drapery lining for the reverse side.
I sewed them together in one large rectangle and ironed the seams before reversing it to the front and finishing all edges.
I couldn't find a trim I liked that went with my area rug so we remembered Bethany had some leftover fabric "
Fratelli Tea Rose" from her master bedroom
One Room Challenge and the color is brilliant and the perfect coral color.
So I cut 3" strips and ironed over the edges and because the fabric was so thick I used 'stitch witchery' inside the ironed seams to hold them in place until I could sew them on.
I wanted the corners to look special and tried several arrangements .
Then I decided on a picture frame corner and I 'tacked' it by hand so it would 'stay' before sewing it down on the machine.
I have professionally made roman shades all over my home, made by our local workshop. Simple, I thought, just copy what they did. It can't be 'brain surgery'.
I bought the plastic rings, the correct string, and proceeded to spend an hour or so measuring and remeasuring the placement of the rings so they were straight and I did 5 rows in the back to keep it from sagging. MUCH HARDER THAN IT SEEMS! I sewed on all the rings and secured the strings and TA DA!
It was AWFUL, crooked, didn't hang right. (wasn't picture worthy!) I even fastened it on to the header board and tied them up to the valance height I wanted and STILL AWFUL. It was midnight by this time, and I hated it. So I took off all the strings and the plastic rings, back to a plain rectangle of fabric, and square one (or two).
The next day I folded the front folds to LOOK like I wanted it, pinned it, turned it over and hand stitched it in place. The key is to tack it up across the fold in alot of rows to prevent sagging. This was 53" wide and I had 5 vertical rows.
So I staple gunned it onto a 1" x 3" board, wrapped the fabric around it and screwed into the ceiling.
It's not going anywhere and I am certainly not going to do this for clients- that's why we use a workroom, but dang,
our whole mantra is to try things ourselves so we know how they are made. I have been letting these romans get the best of me! I should buy a pattern next time- what a novel idea.
Have you had any luck with roman shades? I know there are alot of DIY's out there, I have seen many of them, and tried to follow a few. I must have a ROMAN brain block.
Nancy
Looking for help with your home? We have consulting services starting at $50. Contact us today for information.


