I totally swore off all wallpaper about 10 years ago when I finally removed every shred of it in my home. Well, as trends will have it, I am back in love with all the papers out there these days, and a little wiser about how to install it.
We won some wallpaper a few months back from Wallpaper Update from Jessie's blog: Mix and Chic and we are so happy to be seeing the paper up on the walls in my powder room! Thank you again Jessie and Wallpaper Update!
They sent us additional rolls if we promised to blog about it! We chose Alligator print LL29560:
I wanted to make sure I prepped the walls really well this time, so removal won't be such a headache.
These were my steps:
- Remove everything hanging on the walls and patch and repair all holes
- Remove light plates, registers and fan covers, and light fixtures.
- Prime the wall with leftover paint. I did this since my faux textured walls were dark and this paper was light, and I had so many joint compound patches from repairs I had to prime.
- Apply Wall Size. This aids in the adhesion of the paper and should help in the removal.
- Get your supplies together: water tray, straightedge, level, pencil, smoothing brush, BRAND NEW single egde razors..lots of them (imperative!)
Prepare your area where you will wet the paper (I cleaned the garage floor and used it since it was close to this powder room.)
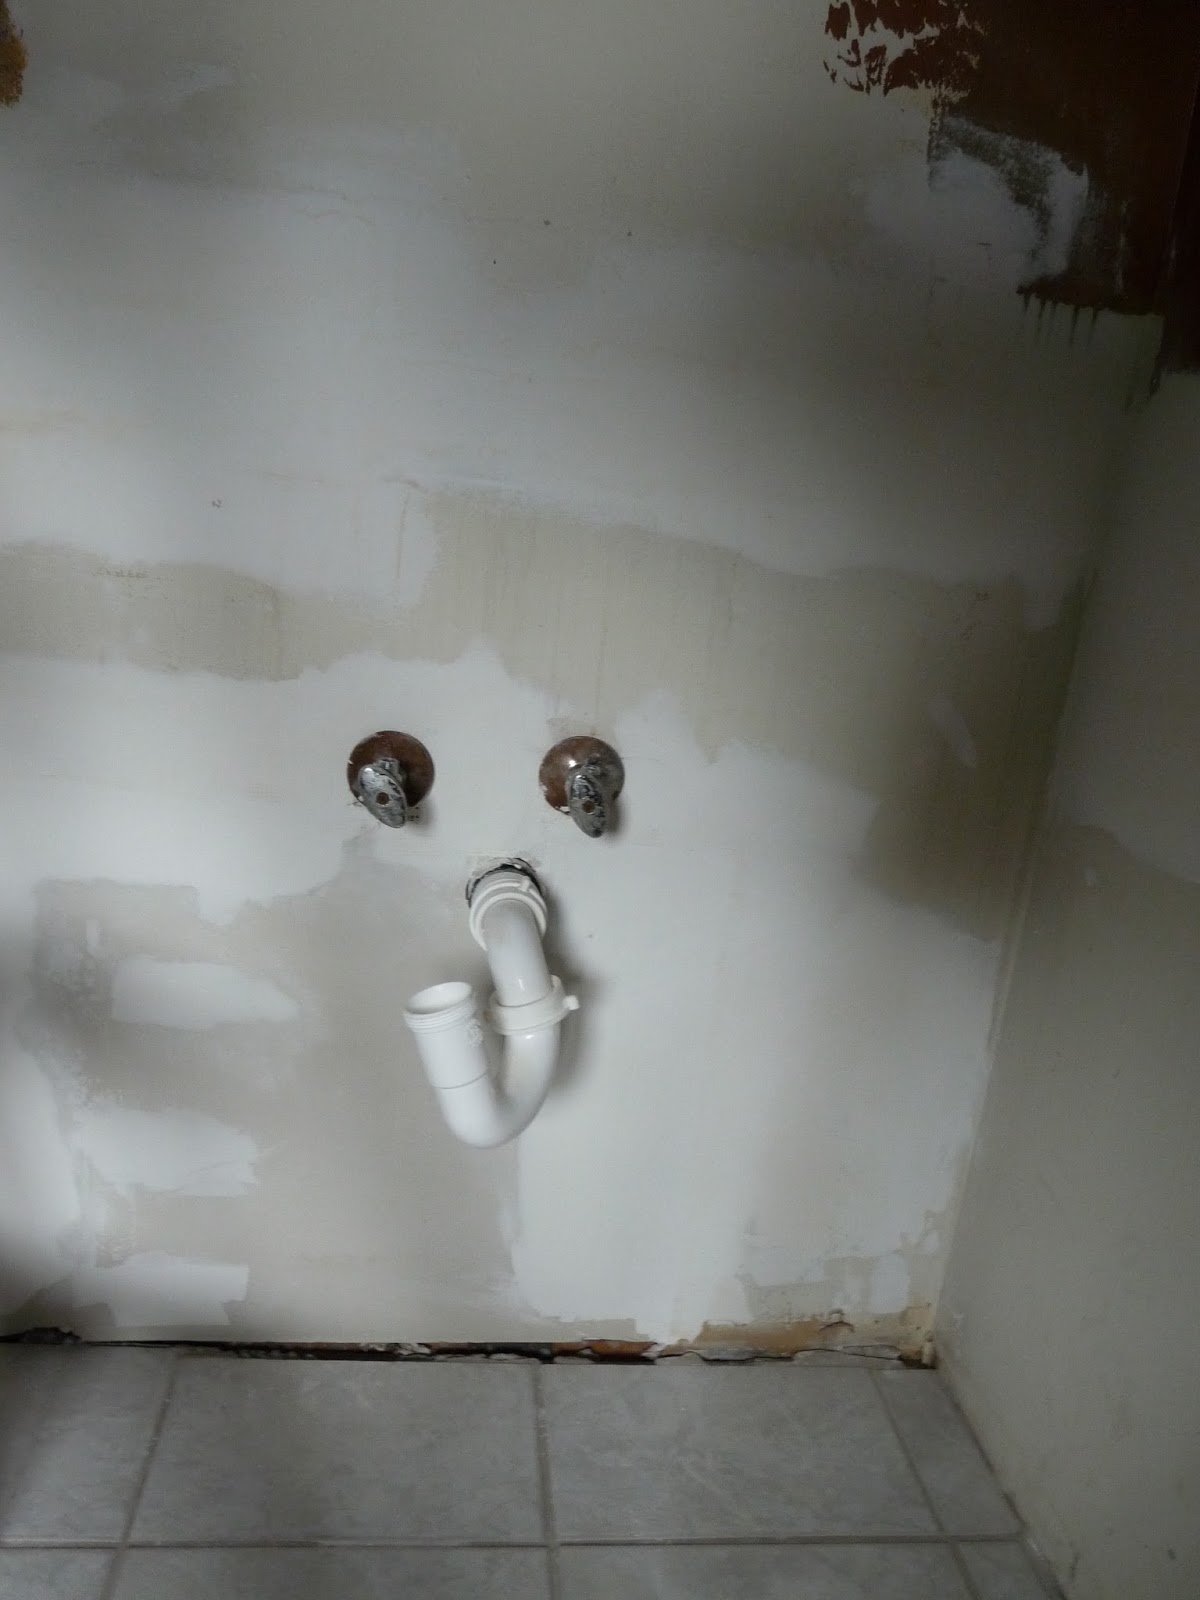
Here is a before picture of prepping the wall over my 90's faux finish! Thank God!
Here is the wall sizing I used. I rolled it on with a paint roller. This goes very fast! You have to wait a few hours to begin papering.
Priming with leftover flat paint, then applying wall sizing.
My helper tracked the sanding dust all over the kitchen and was watching me the whole time.
I drew a PLUM line with a level and straightedge so I had straight aligned sheets of wallpaper!
I measured my wall height and cut all my pieces of wallpaper allowing about 6 inches extra to manipulate it once it's on the walls. Luckily this paper had a standard repeat and I didn't have to waist alot.
The paper is pre-pasted. I often apply extra paste, but since I prepped my walls well it went straight into the soaking pan of water for a few minutes then I bookended my paper and let it sit about 5 mins so that paste gets malleable. "Bookending" is where you take one long length of paper, wet it and fold the ends over to meet in the middle and let it sit like that til ready.
Smooth with your hand, then a sponge, forcing the air bubbles and paste towards the outer edges.
I trimmed the edges as I went, with a new single edge razor every few cuts and a straight edge.
I am so happy with how clean and bright it looks, especially from my gray laundry room!
I am waiting for fixtures I ordered, so the reveal will be coming soon!
Have a great holiday weekend, friends!