Showing posts with label one room challenge. Show all posts

Tuesday, March 26, 2013

Faux Roman

When my son was in Rome for the first time many years ago and again this yearthere were these all about town... a FAUX ROMAN!


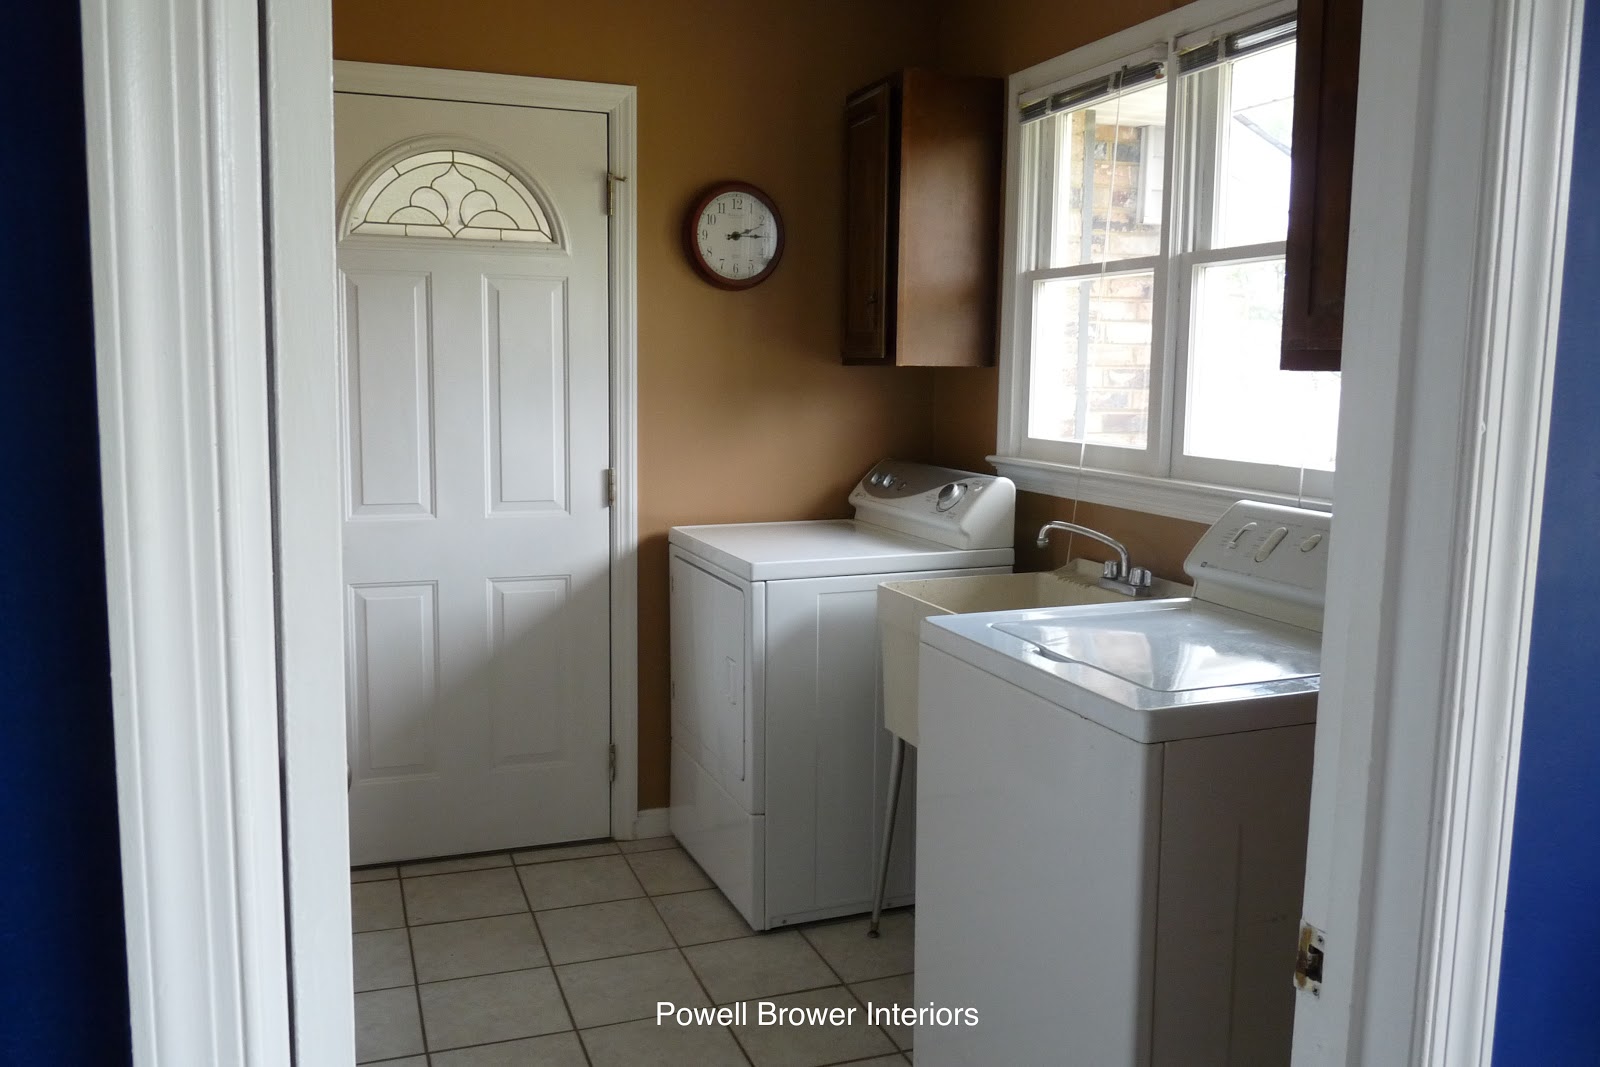
Here is my version for my latest laundry room One Room Challenge:


Knowing it was not an operable shade but just a valance I used one yard of "Cub Fossil" fabric
and purchased drapery lining for the reverse side.

I sewed them together in one large rectangle and ironed the seams before reversing it to the front and finishing all edges.

I couldn't find a trim I liked that went with my area rug so we remembered Bethany had some leftover fabric "Fratelli Tea Rose" from her master bedroom One Room Challenge and the color is brilliant and the perfect coral color.


So I cut 3" strips and ironed over the edges and because the fabric was so thick I used 'stitch witchery' inside the ironed seams to hold them in place until I could sew them on.
I wanted the corners to look special and tried several arrangements .


Then I decided on a picture frame corner and I 'tacked' it by hand so it would 'stay' before sewing it down on the machine.  


I have professionally made roman shades all over my home, made by our local workshop.  Simple, I thought, just copy what they did. It can't be 'brain surgery'.


I bought the plastic rings, the correct string, and proceeded to spend an hour or so measuring and remeasuring the placement of the rings so they were straight and I did 5 rows in the back to keep it from sagging.  MUCH HARDER THAN IT SEEMS! I sewed on all the rings and secured the strings and TA DA!


It was AWFUL, crooked, didn't hang right. (wasn't picture worthy!)  I even fastened it on to the header board and tied them up to the valance height I wanted and STILL AWFUL. It was midnight by this time, and I hated it. So I took off all the strings and the plastic rings, back to a plain rectangle of fabric, and square one (or two).

The next day I folded the front folds to LOOK like I wanted it, pinned it,  turned it over and hand stitched it in place.  The key is to tack it up across the fold in alot of rows to prevent sagging. This was 53" wide and I had 5 vertical rows.


So I staple gunned it onto a 1" x 3" board, wrapped the fabric around it and screwed into the ceiling.


It's not going anywhere and I am certainly not going to do this for clients- that's why we use a workroom, but dang, our whole mantra is to try things ourselves so we know how they are made.  I have been letting these romans get the best of me! I should buy a pattern next time- what a novel idea.

Have you had any luck with roman shades?  I know there are alot of DIY's out there, I have seen many of them, and tried to follow a few. I must have a ROMAN brain block.

Nancy

Looking for help with your home? We have consulting services starting at $50. Contact us today for information.

Wednesday, March 20, 2013

3rd challenge down..THE REVEAL


This it it...D day.. the finale.. 6 weeks of gettin' it done! I love these challenges since it forces you to finish a room in your own home. Thank you again Linda from Calling It Home for launching this challenge! I can't tell you how much I love these challenges! 
My laundry room went from this on February 6th:


to this:


From the beautiful cabinets and wooden countertop my husband made in week 2 and week 3:


to this faux roman shade I made this week (more on this later):


To our nail head and jute wall treatment that I LOVE:


and all the details in between!


Notice the unsightly hoses behind the washer are disguised! Finally!


The attached closet got a little makeover and organization plus a custom dog bed for Gibbs!


It's been a great project and so fulfilling.  I am so happy with the results and will get it professionally photographed later.  Thank you all for following along and I can't wait to see my other girls and their final reveals.  One more time:


Many thanks and Congratulations to all of you for doing a stellar job! I'm going to miss you all and our weekly assignments- sort of! No, but I have enjoyed every bit of the process and getting to know all of you better!
Now on to my powder room!

xo
Nancy

See our past Challenges here: 
Bethany's Master Bedroom, Nancy's Breakfast Room


Wednesday, March 6, 2013

One Room Challenge Week 5


                                         Week 1, Week 2, Week 3, Week 4

Greetings challengers and friends! This week we have been waiting for fabrics to arrive, installing a light fixture and working on a wall treatment that will be revealed next week.  Today's progress shows my fabulous new Morovian Star pendant; a light I have oggled for years and finally found a place for it!   Do you know about Dovecote Decor?  They have a great store in Winston Salem, NC and their prices are so affordable.  There are many of these star styles available, but mine is antique bronze and clear glass. I do love the mirrored glass, but opted for this beauty, and I am so happy with it.


Here is how you get into it to change a bulb, so cool, right? I hope you're making the switch to Eco friendly bulbs like this one. It will only cost about $1.10 per year in electricity.


Here it is at dusk:


And did I mention I never install a fixture anymore without one of these? Ceiling medallions just add a little layer (for as little as  $9.00)...


As I've mentioned, this is the room people come into from the driveway, not my front door, so I wanted to make this laundry room more special.  The fabric that I've chosen is Lacefield's Cub Fossil. It is $40 a yard and is a heavy cotton that could be used well for upholstery, but I did find it here .  There are so many other colorful choices I was wanting, but this one melds the best with the Turkish Runner I am using, which makes the whole room:


In searching for the perfect color trim, we tried Bethany's Fratelli Tea Rose fabric from her ORC draperies and it is a perfect match to the rug, and just the pop this room needs. Luckily she has some leftover fabric, so I am making trim pieces from that.


Check out my girls today!


Best of luck on your projects challengers! It is so fun to see what you're up to, and wishing you the best in your final push to the reveal March 20th!

xo

Nancy


Looking for help with your home? We have consulting services starting at $50. Contact us today for information.

Wednesday, February 27, 2013

Week 4 One Room Challenge update

Week 4 Progress

Check out Week 1Week 2Week 3

The base cabinet is complete! We installed the face frame and doors, and had to adjust the hamper and put 'stops' on it so it wouldn't fall forward-- but it's done and I'm so happy with it. I have to wait for a nice day to polyurethane the inside of the hamper so the exterior door can be opened for ventilation. We should have done this prior to installation...


 This is the Lews Dolin hardware we installed. They are really great quality!


Next I painted the closet in the laundry room, so it will be ready for organization!  Plus, Gibbs sleeps in there, so it is his 'apartment' we call it.


I started collecting vases and glassware around the house to store in my cabinet. I'm so glad it finally has one place where it is all located.


The new sink is such a hit. I bathed a bull dog and a shih-tzu in there this week!


Next on my list is window treatments, wall treatment, closet organization...
Let's see what these superwomen are up to:


Good luck ladies! I hope your projects are going smoothly!

Thanks for stopping by to see our progress.

Nancy

see us on Savvy Southern Style!

Wednesday, February 6, 2013

ORC Kickoff


 Week 1 here, Week 2Week 3Week 4Week5Week 6

The One Room Challenge is back!  The Powell Brower team has done a few of these before and we are happy to join in the challenge again for the next 6 weeks.  We are honored to be among 20 of our favorite design bloggers and wish everyone luck! Thanks Linda, of My Crafty Home Life, for organizing this and to Jennifer of The Pink Pagoda for providing our graphic buttons!

My dated laundry room is the subject this go-round.  You're going to love these before pictures.


While it's not totally terrible, it is about 10 years past its prime, so I aim to bring it up to date on a budget.

My makeover includes:

 new laundry room sink and faucet
 new butcher-block countertop and lower base cabinetry
 new upper cabinets
 repaint the trim and walls,
 new light fixture
window treatment

Unfortunately, the tile and the existing washer and dryer are staying.  I've got my work cut out for me to zhush this room enough so you forget about them!

So first I started pinning inspiration photos: 

                                                                                                      via


                                                                                                       via


Then I began playing with some e-Boards:


I think Bethany can agree, I'm my own worst client! I like so many things and looks, I am having a terrible time deciding on one final plan.

My husband has been working on building the cabinetry out of cabinet-grade birch for months now. I waiver between staining them and painting them white!


Here is the counter top he's making out of oak fence boards (the kind we use down at the barn for the horse fence!). He put rough-hewn boards through a planer several times to make them smoother, then laminated them together with wood glue and clamps. I love the slight imperfections in the oak boards.


Stained and sealed and cut-out ready for the sink mount:


While he is working on these, I started painting all the trim white. And you know what that leads to..it makes the adjoining rooms look bad, so it's a never-ending story!  It makes me want to repaint my whole house!  We removed the old cabinets and patched the holes.


So this is all for week one! Next I am going to paint the walls, so join us next Wednesday for Week 2's update on our progress! Below are the links to the participating blogs. I hope you follow us all for the next 6 weeks to see the progress of our rooms!


Best of luck everyone!  Can't wait to follow your progress. Remember to enjoy the journey!

-Nancy

Powell Brower Interiors specializes in making your house a home.  We offer both e-Design services (virtual) and complete interior design services for clients in the DC, MD and VA areas. We'd love to work with you, so contact us today!